Click below for the full tutorial.
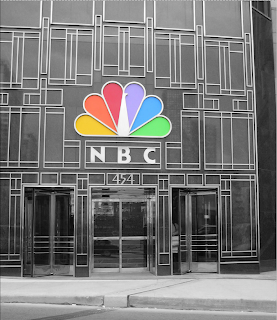
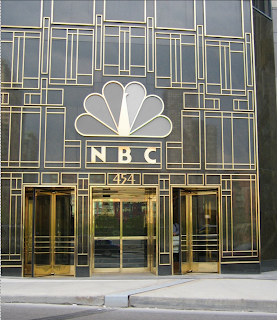
1) Select the image you wish to use. I have chosen this image as there is a nice clearly definable area which could be kept coloured.2) Using the selection tools in photoshop select the parts you wish to keep coloured. I used the magic wand tool holding the shift button on the keyboard to multi-select.
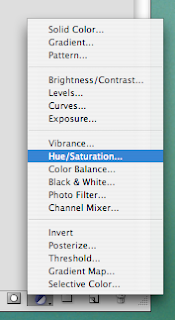
4) Now add a Hue/Saturation adjustment layer.


5) Lastly, slide the marker on the Saturation bar all the way to the left.

Tip: If you wished to keep the colour of the building and remove the colour of the sign you will follow all the steps apart from inverting the selection. Remember: always select what is easiest for you to select. You can always inverse the selection.


No comments:
Post a Comment