In the following tutorial I will show you how to make a realistic looking bottle in Illustrator.

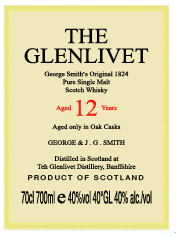
1. The first thing you need to do is make the labels for the bottle and save them as a symbol. I am making a Whisky bottle so I have made Whisky labels as well as a label for the neck of the bottle.


2. Using the various drawing tools and shapes, draw the outline of the bottle. I have use the actual bottle I am trying to replicate as a guide. Once you have a nice shape of your bottle, using the pathfinder, join the pieces together and expand.
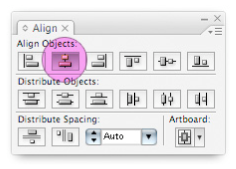
3. Draw a vertical line down the middle and using the align tool, centre the line with the bottle outline. Select the bottle and the line and click the divide in the pathfinder box, ungroup the selection and delete the left side of the bottle.

4. Now you want to make cross sections by each point you are intending to have a colour change. Once you have done that, select everything and, in the path finder box, divide and expand.

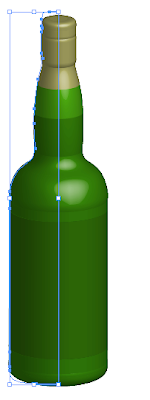
5. Now, using your direct selection tool (white arrow), click on the cross section anchor points and delete. You want to delete all the lines and leave a half an outline of your bottle. he next part is to select each part of the outline and change the colour you want it to be.

6. Nice and easy! Select and group your bottle. Now go to effects>3D>revolve. Change the revolve direction from left edge to right edge. Add a light or two to give a more 3Dish look.

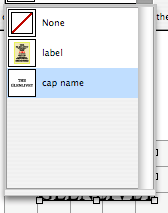
7. Last step! Click 'Map art', find the portion of the bottle you want your labels on by using the right and left arrows in the dialoge box. Open the symbols drop-down menu and secle the label you made earlier. Positon is where you are happy with it.

8. Viola!
The image i was attempting to copy Vs. my Illustrator version


No comments:
Post a Comment